Pages

Showing posts with label Pinwheels. Show all posts

Saturday, June 18, 2011

Patriotic Pinwheels


 I finished this table runner for a friend just in time for the Fourth of July and also the deployment of her son, who is a Marine. It started out with a red, cream and blue Americana theme but when I saw the Marine fabric, I had a feeling she would prefer it. And she did! She really wanted it to run the full length of her table so it is 58" long.

 You can really get a lot of lift in those buggers by pressing them with the point of the iron in the fold to take out the crease.

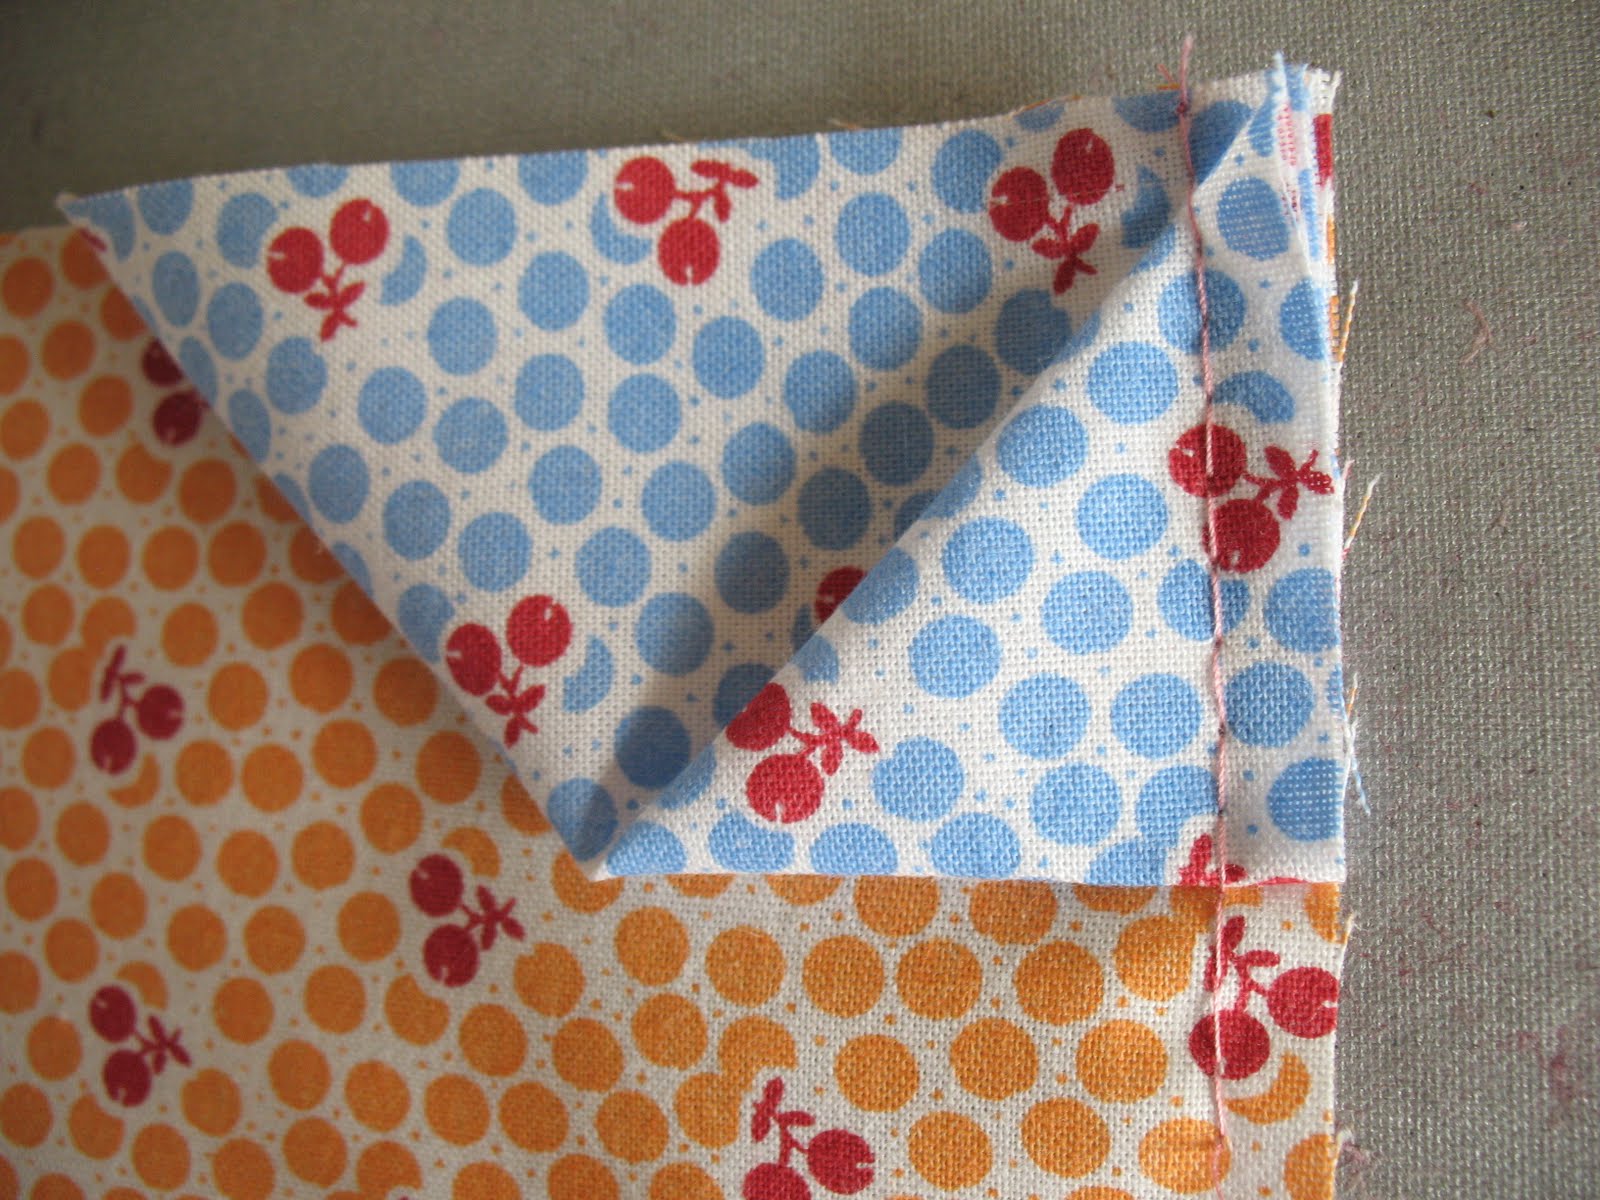
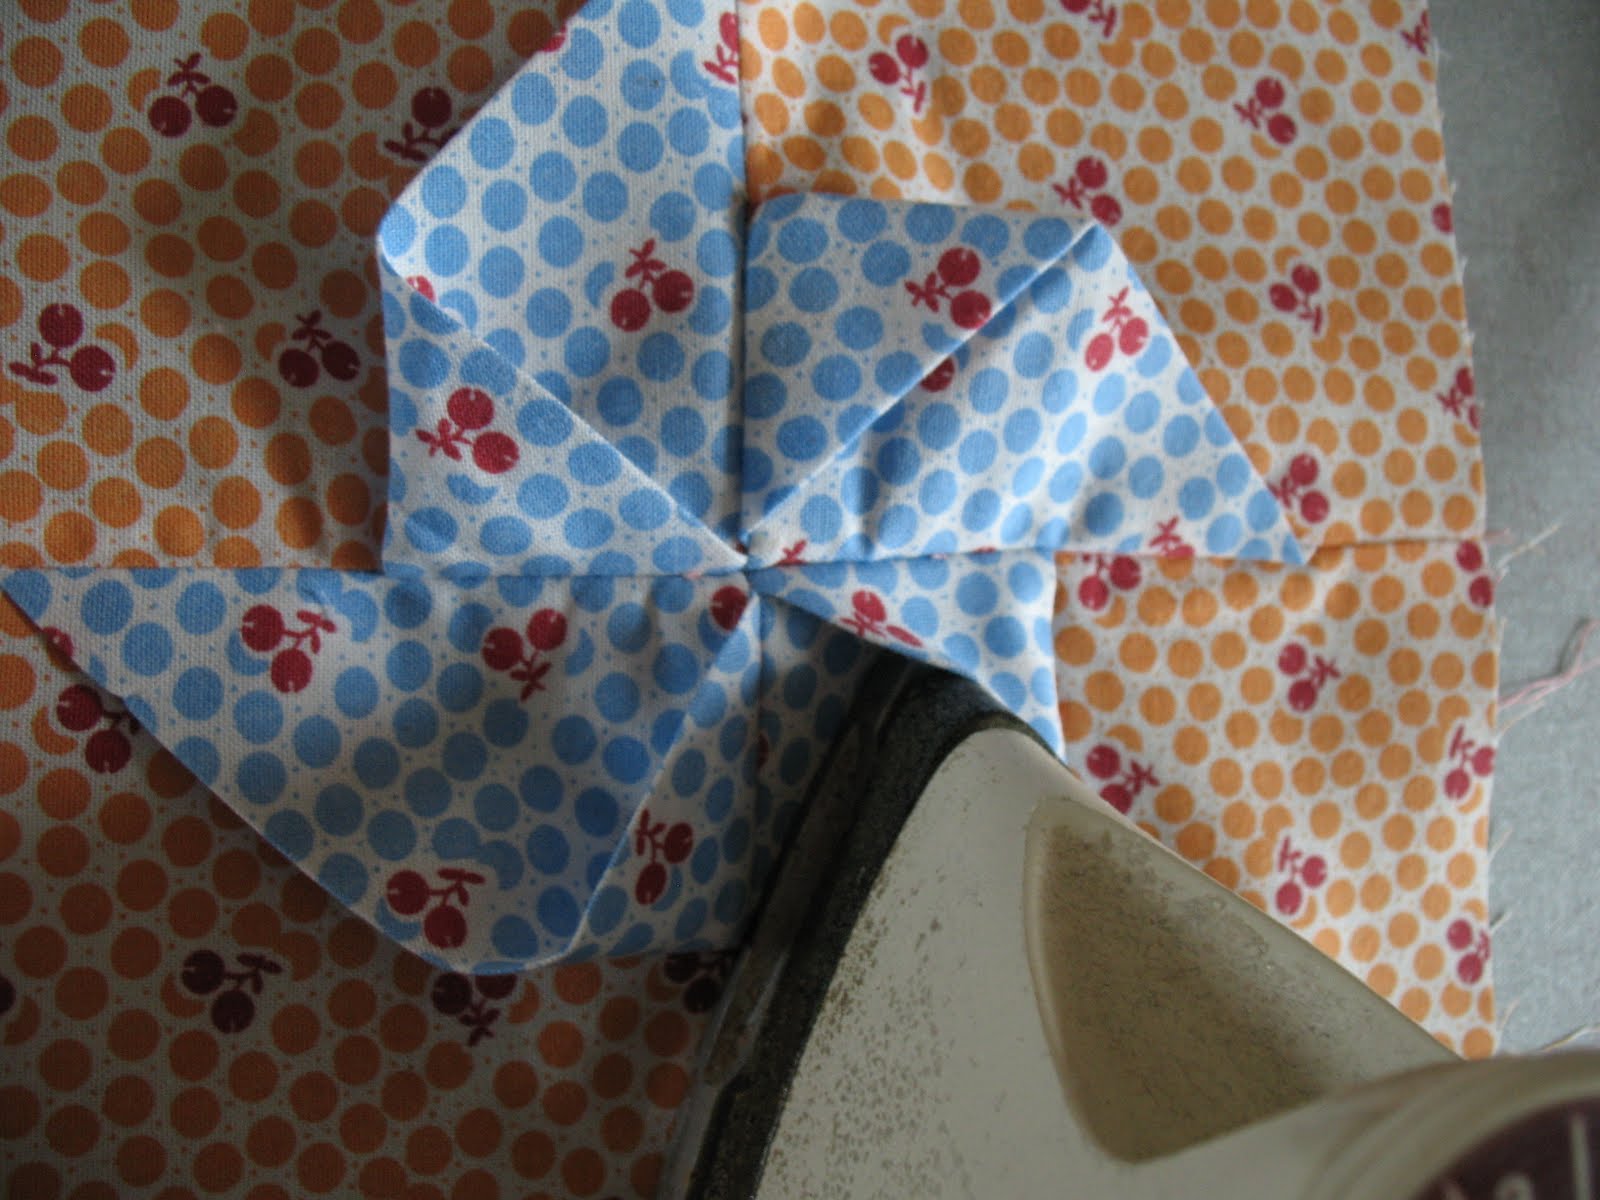
I enjoy this 3-D block pattern so much and and have lots of fun with it. You might remember the last runner I used it in. The post, including the tutorial, can be found here.


My all time favorite 3D Pinwheel quilt was made by Geta at Geta's Quilting Studio. I love how she used the smaller, dark pink pinwheels in between the framed blocks. She also used the smaller size in the border which really finishes it off nicely.


While you are visiting Geta's blog, be sure to check out her spectacular trapunto. It is breathtaking!
Blessings to you~

Friday, May 13, 2011

Three-D Pinwheel Table Runner

   I have been having FUN with this little project. And lots of it! There were two little fat quarters tucked in a gift from my sister. She did a cherry gift theme (she always has a theme that she carries through). The fabric had cherries on it, naturally, and when I was asked for a donation for a fund raising auction, I jumped at the chance to try out this 3-D block pattern I had been eying. It looks so cheerful and fun!
 The tutorial I used had a mistake in it so I will tell how I did it instead. First, I cut my squares. You need four-4 1/2" squares out of your background fabric and four 3 3/4" squares out your pinwheel fabric for each block.


              Then, take a pinwheel square and fold it in half diagonally, wrong sides together.

              Take one of the points from the long side and bring it across to the other corner.
  
Pin to a background square. Make sure to pin each one the same way and to the same side of the square.

Baste them in place. Just trust me on this okay? It's the only way to make them behave and stay where they are supposed to.


After pinning really well, sew two squares together. Then the other two, pressing seams OPEN. The center of the pinwheel becomes too bulky if you don't press them OPEN. Really.


                      Now stitch both halves of the block together and this is what you have!


You can really get some good lift in the pinwheel blades if you get your iron in there and take out the creases that formed when you were assembling the block.


                 This is what the back side looked like after quilting. Looks so summery, doesn't it?


Blessing to you!